315.webp)
0) What you’ll need (and why)
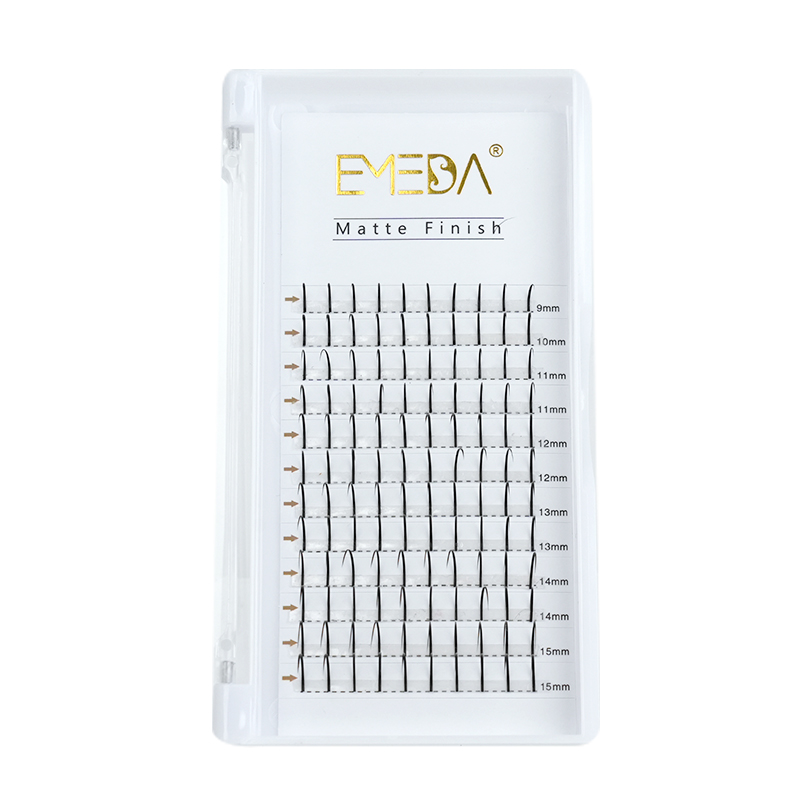
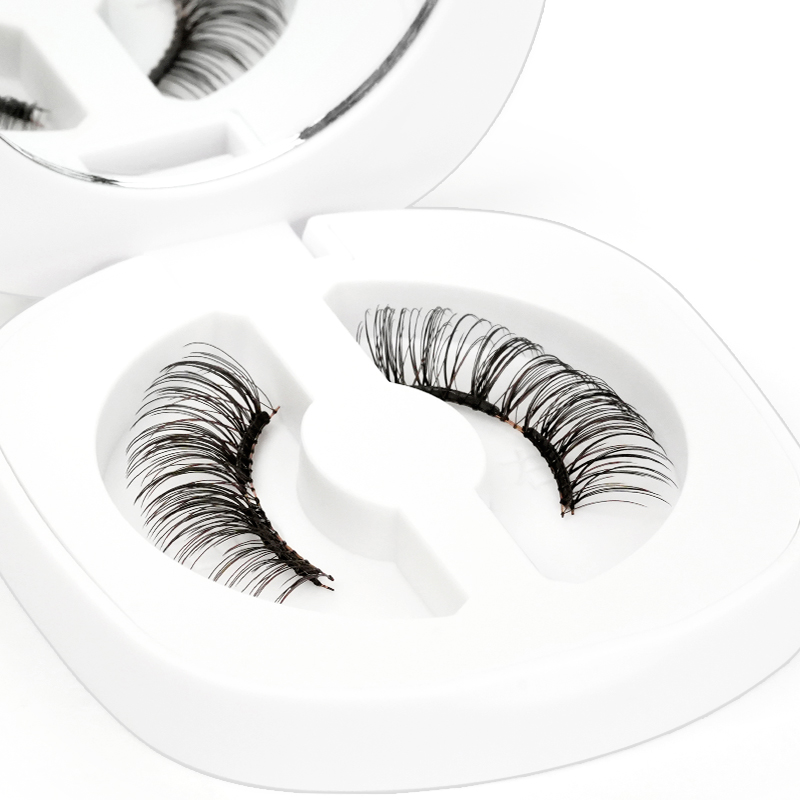
Strip lashes (beginner styles): natural or demi-wispies with a clear, flexible band (band length usually 28–32 mm, weight typically 0.15–0.35 g per strip).
Adhesive: clear or black. Drying time for most glues is 30–45 s to reach “tacky.”
Small scissors (for trimming the band).
Tweezers or lash applicator (curved tip helps control).
Eyelash curler (optional but helps blend).
Mascara (one light coat; avoids clumps).
Eyeliner (pencil or gel) to disguise the seam.
Cotton swabs + oil-free makeup remover for cleanup.
Safety note: If you have a latex allergy, pick latex-free glue. Do a patch test on your inner wrist 24 h before first use.
973547.webp "fasle eyelashes (7)973547.webp")
1) Prep your eye area (2–3 minutes)
Clean & dry the lids—oil breaks down glue. Use micellar water or an oil-free cleanser.
Apply your eyeshadow and liner first. A thin liner gives the lash band a “track” to sit on.
Curl your natural lashes for 5–8 s per eye and add one light coat of mascara. Let it dry 60–90 s.
Data tip: Curling increases apparent lash lift by ~15–25% for most eyelids; the false lash will blend more seamlessly.
2) Fit and trim the lash (1–2 minutes)
Gently peel a lash from the tray by the band, not the fibers.
Measure: Place it on your lash line without glue, aligning the outer end with the outer corner of your eye where your lashes end (not the skin).
Trim from the outer end in 1–2 mm increments until the inner end sits ~2–3 mm away from your tear duct.
Why: Leaving 2–3 mm gap prevents poking and lifting.
Flex the band: roll it around your finger for 10–15 s to add curve—this reduces inner/outer corner lift by ~30–40%.
Beginner option: Turn the off-cut into a half-lash for the outer third of the eye—easier to place and very natural.
3) Apply the glue (30–45 seconds wait time)
Run a thin, even bead (≈0.5–1.0 mm) of adhesive along the band.
Add a micro-dot extra to the inner and outer 3 mm—these are your “fail points.”
Wait until the glue turns from wet to tacky (touch with a toothpick; it should “string” slightly):
Clear glue: ~30–40 s
Black glue: ~40–50 s (often a hair slower)
Tackiness reduces sliding and cuts placement attempts by ~50% for beginners.
4) Placement: the 3-point anchor method (30–60 seconds per eye)
Hold the lash with tweezers at the center.
Chin up, eyes down in a mirror—this flattens your lash line.
Angle the strip ~30° downward toward the lid and land the center first about 0.5–1.0 mm above your natural lash roots (never on the skin of the waterline).
Anchor the outer corner next. Press 3–5 s.
Anchor the inner corner last. Press 5–7 s (inner corners need more time).
Walk along the band with the tweezer tips or a cotton swab, pinching your natural lashes and the strip together for 5–10 s.
Data cue: Most lift-offs happen within the first 3 minutes if corners weren’t anchored. Do a quick re-press at 2–3 min to lock them.
726622.webp "fasle eyelashes (6)726622.webp")
5) Blend and finish (1–2 minutes)
If needed, add a thin line of eyeliner over the seam; black glue users may skip this.
Optional: a very light mascara mist (one zig-zag pass) to marry fibers. Don’t overload; >1 coat shortens lash lifespan by ~30–40%.
If any glue squeezes out, use a dry cotton swab to roll it away; avoid remover near fresh glue for the first 10 min.
6) Checkpoints (30 seconds)
Blink several times. If you feel poking in the inner corner, the band is too long—remove, trim 1 mm, reapply.
If the strip rides up at the outer corner, you likely need more tack time or a tiny extra dot of glue there.
7) Removal (30–60 seconds)
Soak a cotton swab with oil-free remover and trace along the band for 10–15 s.
Pinch near the outer corner and peel inward slowly.
Never rip straight off; that can remove natural lashes and irritate the lid.
8) Cleaning & storage (2–3 minutes)
With tweezers, pluck off residual glue from the band (like lifting a thread).
Brush through fibers with a clean spoolie.
Store back in the original curve tray—this preserves the arc and extends life by 3–6 extra wears.
Quality strip lashes are typically reusable 8–20 times if you avoid heavy mascara and clean after each use.
Troubleshooting: quick fixes with numbers
| Problem | Likely Cause | Fix (with data) |
|---|---|---|
| Inner corner lifting | Band too long; glue not tacky | Trim 1–2 mm from outer end; wait +10 s longer before placing |
| Watery eyes during placement | Glue fumes; eyes too open | Look down, not straight; switch to low-fume or clear glue |
| Band visible | No liner / band too high | Add 1 mm liner; press band to sit 0.5–1 mm above roots |
| Heavy/unnatural look | Lash too dense/long | Choose 10–13 mm length for day wear, band weight ≤0.3 g |
| Corners itchy | Band ends cut square | Round off corners at a 45° bevel |
| Sticky lids hours later | Too much adhesive | Use a bead ≤1 mm; spot-dot only at corners |
Beginner-friendly style picker (data-guided)
Eye size small / hooded: demi or half-lashes; lengths 9–12 mm; lighter density; clear band.
Round eyes: cat-eye mapping (short-to-long); lengths 9–13–11 mm.
Almond eyes: most shapes; wispy or C-curl; length 10–14 mm.
Glasses wearers: keep max length ≤12 mm to avoid lens rub.
Alternative beginner methods (if strips feel hard)
A) Half-lash (outer third)
Trim to 12–15 mm of band and place only on the outer corner.
Average placement time <20 s; virtually no inner-corner issues.
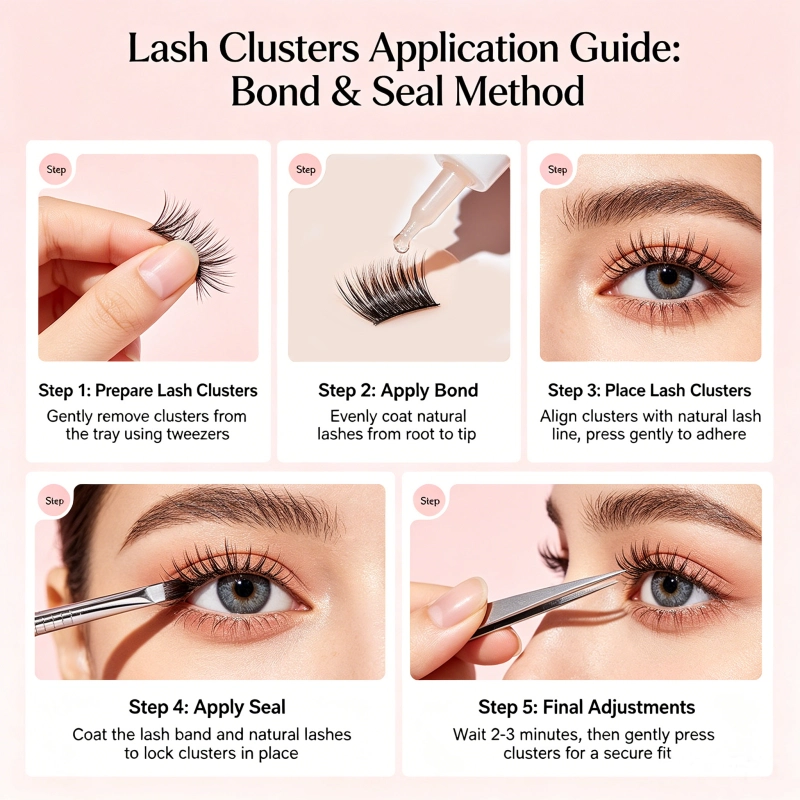
B) Clusters (a.k.a. individuals)
Place 3–5 clusters per eye (e.g., 10–12–12–14–14 mm from inner to outer).
Glue dry time: 20–30 s per cluster.
Looks extremely natural; removal and cleanup are simpler.
C) Magnetic strips
Liner contains iron oxides; let it dry 2 coats, 60 s each.
Average placement: 10–20 s; excellent for sensitive eyes, but grip can weaken in humidity >70%.
670114.webp "fasle eyelashes (5)670114.webp")
Hygiene & safety checklist
Replace a lash pair if fibers deform or the band frays (usually after 8–12 heavy wears).
Never share lashes or glue—reduces infection risk by >90%.
If you feel burning during application, remove immediately and switch to formaldehyde-free, latex-free adhesive.
Speed-run summary (for your mirror)
Curl + light mascara (1 min)
Fit + trim (1–2 min)
Glue bead 0.5–1.0 mm, wait 30–45 s
Place center → outer → inner; press corners 5–7 s
Liner touch-up; gentle pinch to blend
Re-press corners at 3 min if needed
Total beginner time: 6–10 minutes (drops to 3–5 minutes with practice).
FAQ (rapid answers with useful numbers)
Q1: Clear or black glue?
Clear is more forgiving for beginners; black gives a liner effect but requires neater placement.
Q2: How close to my lash line?
0.5–1.0 mm above the roots—close enough to blend, far enough to avoid the wet line.
Q3: Can I apply mascara after falsies?
Yes, but keep it ultra-light; heavy coats reduce reuse count by 30–40%.
Q4: How many wears can I expect?
Quality strips: 8–20 wears with proper cleaning and no heavy mascara.
Q5: Why do my corners pop up?
Usually glue placed too wet. Add +10 s dry time and a micro-dot on corners.
Pro mapping template (for natural lift)
Try this stagger (inner → outer): 9 mm – 10 mm – 11 mm – 12 mm – 12 mm – 11 mm.
Result: a subtle 3–4 mm lift at the outer third without looking “fake.”
Final buying tips (so you start with the right kit)
Lash band: clear, flexible, thickness ≤0.6 mm for beginners.
Length: keep ≤13–14 mm for day wear.
Curl: C for soft lift, D for glam.
Adhesive: latex-free, dry time 30–45 s, brush applicator for control.
Tools: curved tweezer/applicator and a magnifying mirror (10× makes a huge difference).
You’ve got this. The first few tries are about timing (wait for tack), angle (≈30°), and anchors (center → outer → inner). Follow the numbers, and your lashes will look clean, comfortable, and secure all day.


708.webp)
774.webp)
641.webp)
380.webp)

489.webp)